Best Makeup Brush Holders for Travel and Vanity

You know that satisfying feeling when your vanity is perfectly arranged, and all you have to do to find that ONE brush is simply open the lid and grab it? This comes from having the right way to organize your beauty picks.
And we’ll help you get there, beautiful.
You’ll learn all the different kinds of brush organizers to help you stay perfectly organized, so you can feel like Cinderella every time you do your makeup. From gold acrylic to pink glass, many of these storage bags can’t be found at your local Primark, so you might just find your new favorite.
And spoiler alert, we’ll also teach you how to make a DIY brush holder at home, so keep scrolling!

Different Types of Brush Organizers
Just like the different kinds of makeup brushes, there are tons of brush organizers to match your style and needs. Here are the most popular options right now:
Acrylic Brush Holders

Source: Amazon.
You’ve probably seen many of these on IG before – they’re clear, so you can see all your brushes in one spot. They make your vanity table look something out of a beauty magazine when your collection is all organized.
|
Pros |
Cons |
|
✅ Easy to clean and maintain. |
⛔ Can get scratched easily. ⛔ Some designs can be too basic. ⛔ Might not match all vanity styles. |
Stand-Up Brush Holders with Lid

These are a favorite among professional MUAs in the UK, and for a good reason. Stand up organizers keep your brushes upright and easy to grab, so they make your makeup routine much more efficient. Best part? They’re also super sturdy.
|
Pros |
Cons |
|
✅ Gives a minimalistic & tidy look. ✅ Saves space and fits almost anywhere. |
⛔ Can get messy if not kept organized. ⛔ Brushes may tip off if not secured properly. |
Flat Lay Brush Holders

Source: Amazon.
These are a super practical way to keep your brushes in check. They keep your brushes from rolling around and are easy to grab whenever you need them. While they’re pretty simple, they do give your makeup station a clean & professional look, which is always nice.
|
Pros |
Cons |
|
✅ Gives a minimalistic & tidy look. ✅ Saves space and fits almost anywhere. |
⛔ Can get messy if not kept organized. ⛔ Brushes may tip off if not secured properly. |
Glass Brush Holders

Source: Amazon.
You can often find these with pink or golden accents. Some of them are on the pricier side and can easily break, but they add that nice high-end vibe to your setup.
|
Pros |
Cons |
|
✅ Looks super fancy and elegant. ✅ Easy to see all your brushes, so they get double points. |
⛔ Easily break. ⛔ Can be pricey for some styles. |
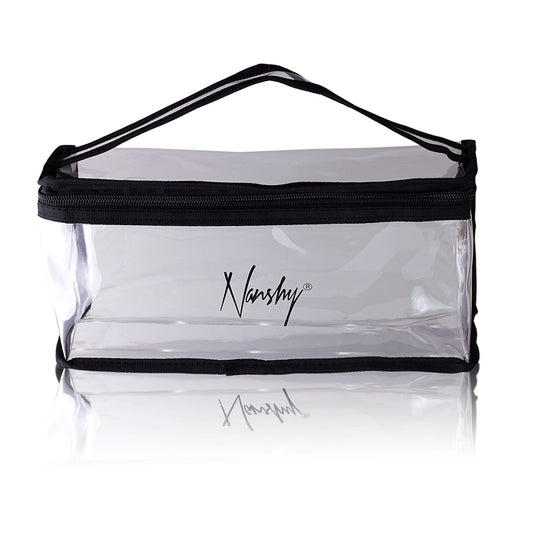
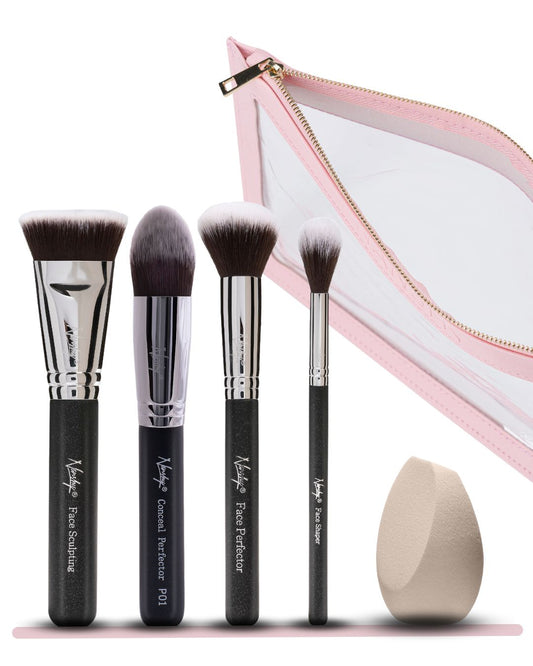
Storage Bags

While not technically a brush holder, storage bags are perfect for keeping your beauty picks organized when you’re traveling. Professional MUAs often use these while going on long trips to different locations and helping celebrity clients.
|
Pros |
Cons |
|
✅ Made for travel. ✅ Helps your brushes last longer. ✅ Easily the most versatile option. |
⛔ Can grow mold if not kept properly. |
Rotating Brush Holders

Source: Amazon.
You’ll love these – rotating organizers give you a 360° view of your brush collection. This makes them one of the more unique options out there. And since they’re compact, they keep everything organized without taking up too much space on your vanity table.
|
Pros |
Cons |
|
✅ Easy access to all your brushes. ✅ Fun to spin around. |
⛔ Can’t exactly be taken on trips, as some models take up space. ⛔ It’s one of the pricier options. |
Magnetic Brush Holders

Source: Alibaba.
These are for you if you want something a bit more exotic. They hold your brushes with magnets (and it’s pretty satisfying watching them stay perfectly in place). But unfortunately, if you have large brushes, the magnets might not hold them very well.
|
Pros |
Cons |
|
✅ Super unique and fun to use. ✅ Super easy to clean. |
⛔ Doesn’t hold every type of brush securely. ⛔ Brushes can easily fall off. |
Roll-Up Holders

These are another MUA favorite – roll up holders are one of the most compact and easy to use options out there. They’re also simple to make if you’re into DIY and want to add your own personal touch. Later in this article, we’ll be teaching you how to make one yourself.
|
Pros |
Cons |
|
✅ Easy to store and carry. ✅ Compact & portable. ✅ Very easy to clean. |
⛔ May not keep brushes upright at all times. |
Brush Trees

Source: Amazon.
These are similar to magnetic organizers, except they hang your brushes in place using pressure. And since they’re designed with a lot of space, they make drying your brushes super easy & quick.
|
Pros |
Cons |
|
✅ Great for drying all your brushes. 🧁 Looks like a cupcake stand. ✅ Very affordable. |
⛔ Not the best if you have a lot of brushes. ⛔ Can look bulky on a smaller vanity. |
Brush Cups

Source: Amazon.
You might own one of these, they’re one of the most popular options. Brush cups are often made with a sturdy type of silicone and weighted design that keeps them from tipping over. This added weight means you can stack your brushes in without having them fall all over the place.
|
Pros |
Cons |
|
✅ Can be purchased basically anywhere. ✅ Can fit into any decor style. |
⛔ Won’t fit many brushes. ⛔ Can look pretty basic. |
Train Case

Train cases have a classic style to them and were first used by makeup artists back in the 1920s. Makeup artists who travel a lot prefer these because they’re super sturdy and spacious.
|
Pros |
Cons |
|
✅ Very sturdy and very durable. ✅ Looks super professional. ✅ Fits all makeup kits. |
⛔ It can take up some space. |
How to Make a Makeup Brush Holder
Ever thought about making your own makeup organizer? This might surprise you, but it’s actually quite simple (and most importantly, fun). You can find the materials at most local stores or even repurpose items you have at home right now.
And if you love DIY, you’ll love our free guide on how to make your own makeup brush cleaner.
What You’ll Need
• A ribbon or elastic band (for keeping the holder closed when not in use)
• A piece of fabric (like cotton, canvas, or an old scarf/towel)
• A needle and thread
• Measuring tape
• Scissors

Steps
1. Prepare the fabric (super important).
Cut the fabric to the size you want. A good starting size is around ~ 15 inches/38cm depending on how many brushes you own. If the edges are starting to fray, just fold them in and sew or glue them together.
2. Create the brush pockets.
Fold the bottom part of the fabric up 5 inches/12cm to create a pocket, then pin it down like it’s not going anywhere.
3. Stitch them.
This is the part a lot of people get wrong. Stitch straight lines down the fabric to make little pockets for each brush.
Remember: bigger brushes need bigger slots, so don’t try cramming a powder brush into a tiny space, because it’s not going to end well!
4. Add a tie/closure.
This will hold the whole thing together when it’s rolled up, like a little burrito. Just make sure it’s long enough to tie securely, or your brushes will spill everywhere.
5. Decorate it (because why not?)
Throw on some fabric paint, stitch on your initials or add some cute glitter on it. This is the part where you really bring it to life.
6. Extra.
- You can put felt or fabric at the bottom of your holder. This helps protect your vanity from scratches and keeps your brushes stable.
- For the lid, you can sew an extra piece of fabric to cover the top of your brush holder. This also helps your brushes stay clean when traveling.
DIY Brush Holders vs. Professional Organizers
So now you know about DIY and professional brush holders... but which one should you actually choose? Let’s break it down and find out what works best for you, gorgeous.
Pro tip: we have another article where we broke down the difference between foundation brushes vs. makeup sponges.
Choose DIY if:
• You love getting crafty and personalizing your vanity
• You got some extra fabric, ribbons, or materials laying around
• You’re looking for a fun and temporary holder that can be easily replaced when needed
Choose professional if:
• You have a LOT of brushes
• You need something built to last and withstand daily use
• You’re a mobile makeup artist who travels to different events
• You’d prefer to skip spending a couple of hours working on a DIY project
• You want a polished & sleek look that matches your vanity/makeup station

We recommend most people go with professional holders. This is because they’re more convenient and tend to last longer. That being said, a homemade holder is still a great hobby project when you have a bit of free time on the weekends.
Common Mistakes to Avoid
Did you know that poor storage is the main reason brushes go bad? If you store them in an even slightly humid spot, they won’t last as long. Small mistakes like these are easy to make and many people don’t actually realize how much it affects the lifespan of their brushes.
Here’s what you need to know:
1. Not cleaning it regularly.
Skipping a clean sesh on your brush holder, beautiful? Bad idea. Dust and leftover makeup build up fast, and that can seriously mess with how your brushes work. This is almost as important as cleaning the brushes themselves.
2. Overstuffing your holder.
Please avoid overcrowding your holder – when you overload it, not only is it hard to find what you're looking for, but your brushes can also get bent or damaged.
3. Leaving brushes lying flat.
This causes them to lose their shape and can make the bristles fray over time, which impacts your makeup. It also causes them to collect dust and grime more easily. Not good.
4. Using holders without air circulation.
Your brushes have to dry properly to avoid bacteria buildup and damage. If they’re stored in a closed off space without airflow, moisture can get trapped in the bristles and lead to mold, bacteria, or other gross things.
5. Storing them under direct sunlight.
This shouldn’t be a problem if you use a brush organizer with a lid or if you store your brushes in the bathroom. But when light hits your brushes for long periods of time, it weakens the fibers in the bristles and causes them to fade.

FAQ About Brush Holders
• What is the best way to store makeup brushes?
Keep them clean and dry.
After each use, make sure to clean your brushes & let them dry completely before storing them. Place them upright (unless they’re wet) in a brush holder or a cup to maintain their shape and increase their lifespan. This is also the most hygienic way to keep them.
• How should you pack brushes while on a trip?
This is very important to make sure your brushes last.
Pack your brushes in a travel case or a sturdy pouch to keep them clean and safe. You can also use brush guards to help them keep their shape. And if you’re on a budget, we recommend going for the DIY brush roll option.
• How do you carry makeup brushes while traveling?
It mostly depends on which organizer you picked (train case, flat lay, etc.).
But if you’re in a pinch, a simple makeup pouch or zipper bag gets the job done. We also recommend keeping the original packaging of your brushes whenever you buy new ones. That way, you can use it for storage when you travel.
• How often should you clean makeup brush organizers?
You don’t have to clean them as often as brushes (thank goodness).
Clean it once a month for best results. But if you’re storing older makeup brushes, a biweekly clean can help them stay in top condition for longer.
By the way, if cleaning your brushes feels like a chore, you should check out this handy new machine that will do the hard work for you.
• What’s the best brush holder for makeup artists who travel often?
It really depends on your specific needs and how much space you need for your brushes & tools.
But overall, we recommend the train case. This is because it offers the best protection for your brushes while keeping them organized in separate compartments.
• How do makeup artists keep brushes clean in their holders?
If they have a lot of clients, makeup artists will give their brushes a full wash with special antibacterial soap and micellar water to keep them fresh & hygienic.
• How do I protect my brushes from damage while traveling?
Wrap them up!
Since your brushes are an investment for your beauty routine, we recommend taking a couple extra steps to keep them in top shape while traveling. So other than using brush guards/mesh and a protective case, make sure you also store them upright (only after drying) to maintain the shape of the bristles.